-
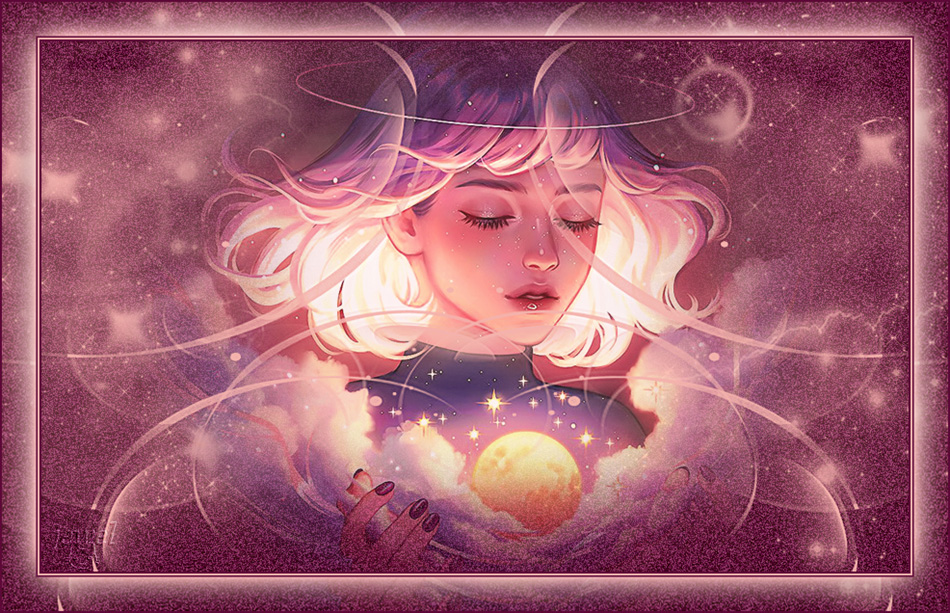
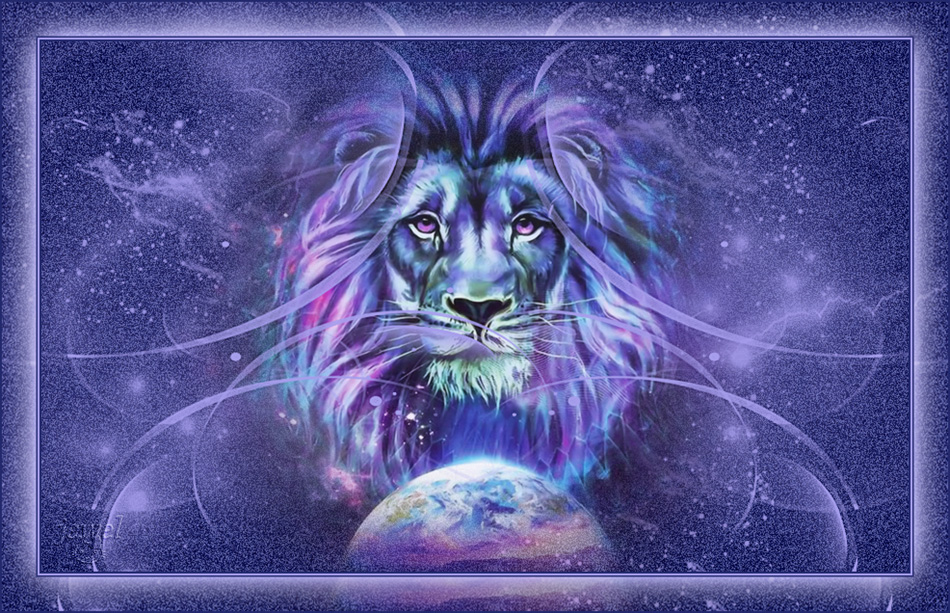
Dans les étoiles
Dans les étoiles
Colybrix, thank you very much for your permission that I may translate your tutorials

Original tutorial here
No filters used
realized with CC 2021 but achievable on other older versions

Click on the image above to upload the brushes file to Google Drive

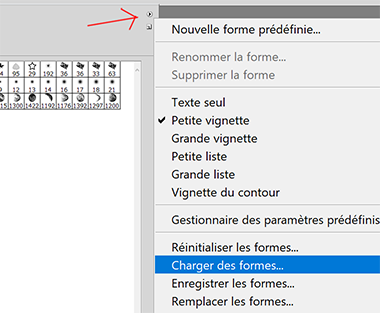
Brushes 1000 Coly stars to import in your Photoshop (double click, they will be put last in your brushes)
or go to your brush window and click on the top right corner : load shapes (capture on Cs5)
***
Colors
Dark color #680a3f
Light color #f5bbb6

***
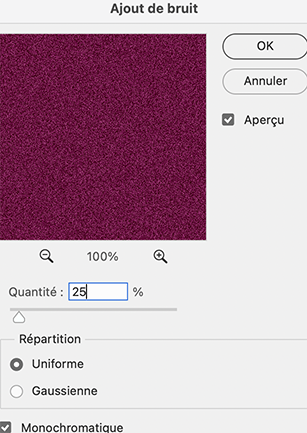
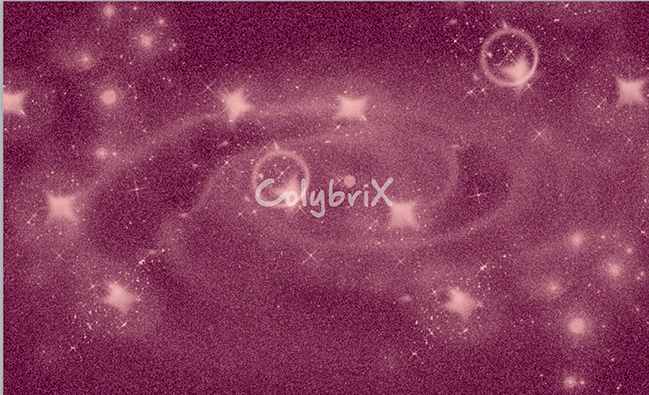
1 - File - new transparent 900 * 550
Fill with dark color
Filter – Noise - Add noise
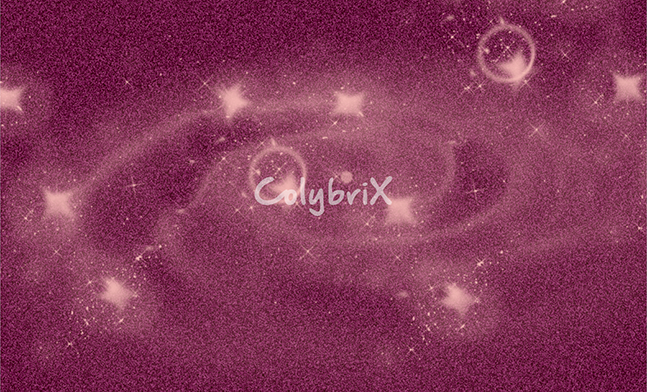
2 - Layer - New layer
Brush tool - light color - Opacity 100%
do as me or as you wish
I chose this brush first and placed in the center

3 - Layer - New layer
Choose this brush

apply 3 times like this
4 - Layer - new layer

Once at the top left and once at the bottom right
5 - Move to the bottom layer - raster 1
Layer - New layer - fill with light color
Add a layer Mask
Open "NarahsMasks_1597" – Ctrl A (select all)
Ctrl C (copy)
6 - Go back to your layer with the layer mask
Press while holding the Alt key on the thumbnail of the merge mask in the layer window
The layer is white
Edit – copy (ctrl v)
The mask goes in the layer mask
Select - Deselect
Ctrl T (Free transform)
Stretch to cover the layer
Select - Deselect
Right click on the layer mask – Apply the layer mask
7 - Move to the top layer
Layer - New layer - fill with light color
Add a layer Mask
Open "NarahsMasks_1582" – Ctrl A (select all)
Ctrl C (copy)
8 - Go back to your layer with the layer mask
Press while holding the Alt key on the thumbnail of the merge mask in the layer window
The layer is white
Edit – copy (ctrl v)
The mask goes in the layer mask
Ctrl T (Free transform)
Stretch to cover the layer
Select - Deselect
Right click on the layer mask – Apply the layer mask
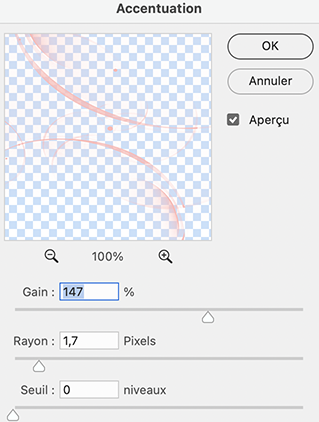
9 - Filter – Sharpen - Unsharp mask
10 - Layer - Duplicate
Ctrl T (free transform)
Right click on your work – Flip horizontal

11 - Open " misted_fantaisie15_tine_08.2021-181" - Erase the watermark
Ctrl A - Ctrl C (copy)
On your work - Ctrl V (paste)
Ctr T (free transform)
Settings (Warning ! L negative)

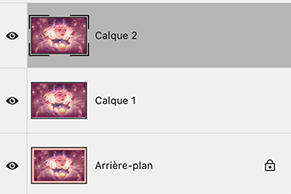
Layer – Arrange - Send Backward (2 times)
12 - Layer - Flatten
Ctrl A – Ctrl C (Select all - copy)
13 - Image – Canvas size (relative coché)
4 pixels – dark color
4 pixels –light color
4 pixels – dark color
70 pixels – light color
14 - Select the last border with the magic wand tool (W)
Selection - Invert
Ctrl J (new – layer via copy)
15 - Ctrl V (paste the BG in memory)
You can't see the difference but the copy is at the top like this
Ctrl Ton the layer 2 and stretch to cover your work
Layer – Arrange - Send Backward
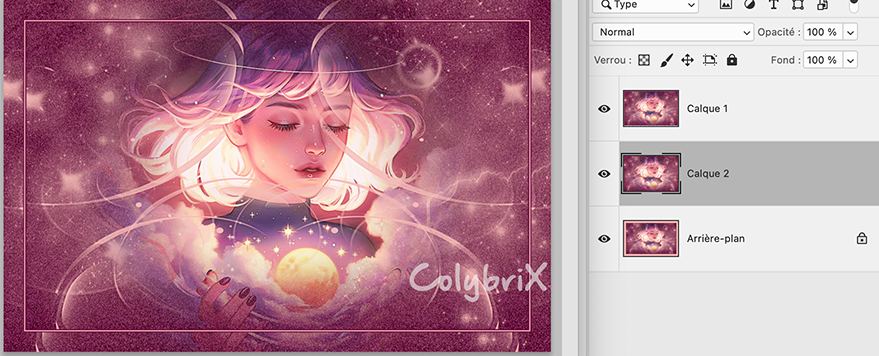
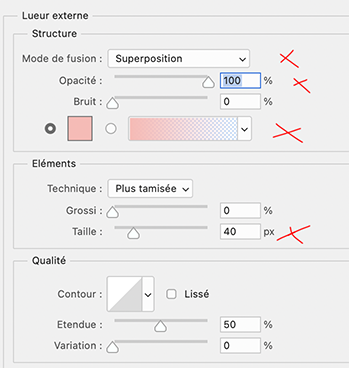
16 - Move to the top layer (raster 1)
Layer style
Outer glow (light color) and Drop shadow

17 Add your watermark - Flatten image
Image – Canvas size (relative coché)
4 pixels – dark color
Image – Image size 950 pixels
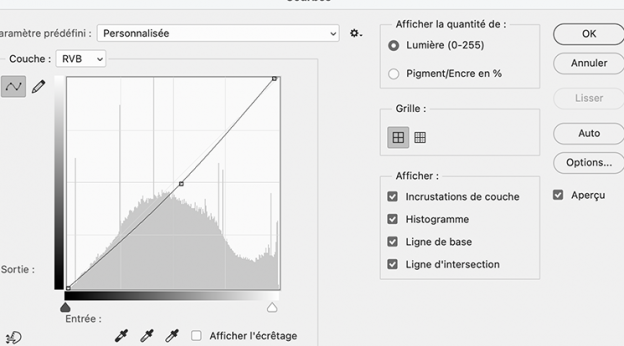
18 - Optional : Image – Adjustements - Curves (adapt to your colors and the result you want)
With CC 2021 : I clicked on "Auto" on the right (doesn't look the same on CS)
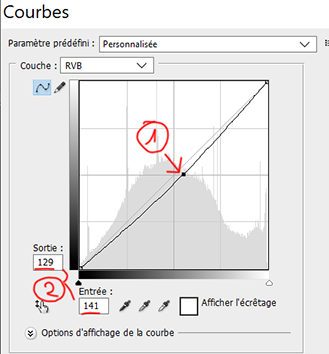
On Cs 5, click first to slightly move the curve in the center downwards (1)
then put 129 in output and 141 in input (2) or the values you prefer according to your colors
If you want, you can send me your version
If you have problems, or you find a not worked link, write to me

Une autre version avec un tube de Tine
Une autre version avec un mist perso

-
Commentaires
|
|
|
|