-
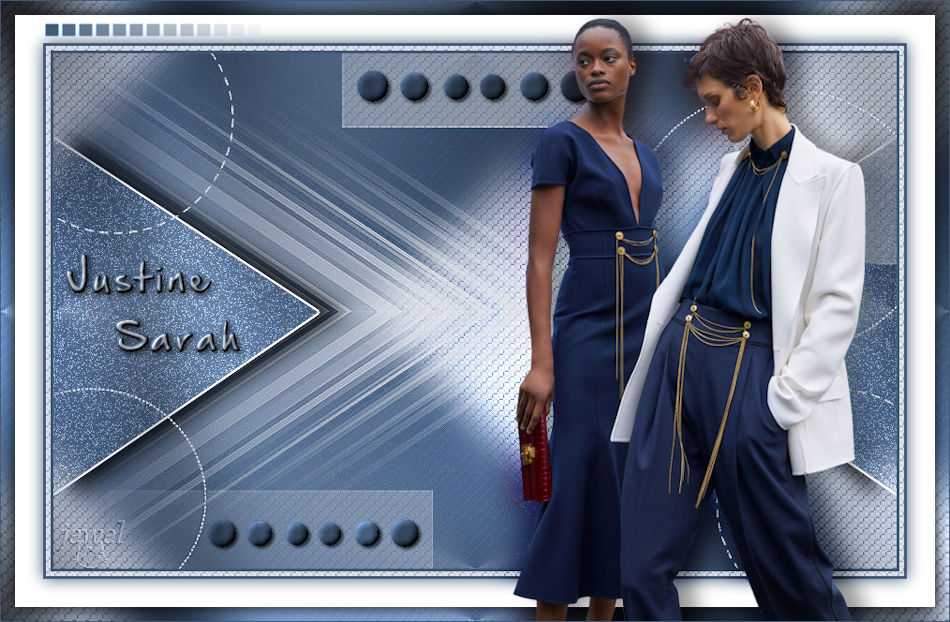
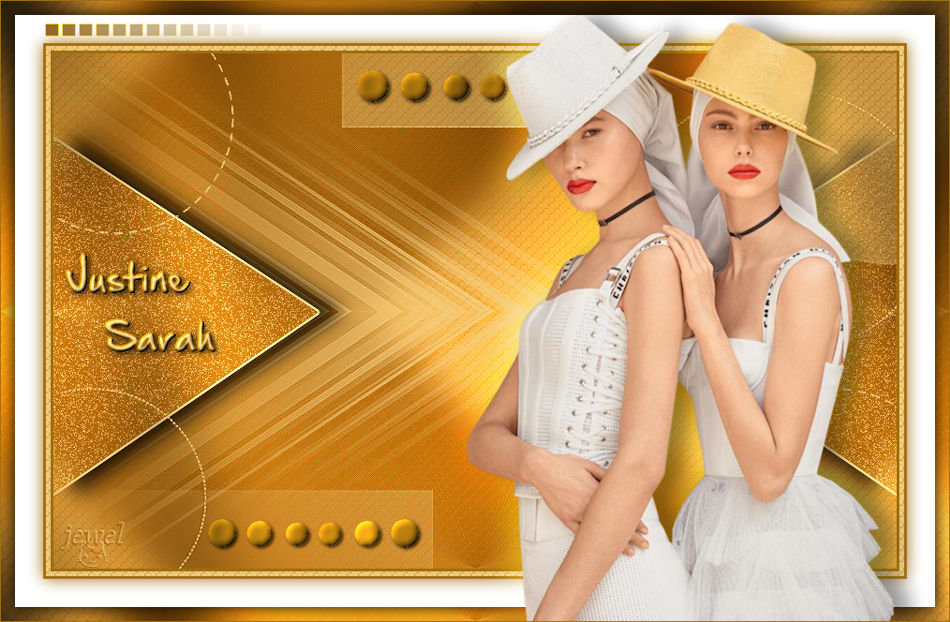
Justine & Sarah

Colybrix, thank you very much for your permission that I may translate your tutorials

Tutoriel original ici
***

***
Plugins
Plugin Galaxy
Graphic Plus
***
Colors
Foreground #425976
Background #e2e5ec

***
Open all files in PSP and minimize to tray
***
1 - Open Alpha layer – Window / duplicate (Ctrl D)
We work on the copy
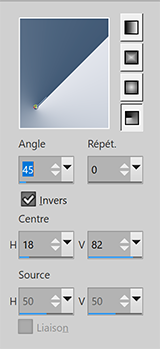
2 - Fill with the radial gradient
Adjust - Blur - Gaussian blur 20
3 - Layers - Duplicate
Image – Mirror
Image – Flip
Blend mode Multiply
Layers - Merge - Merge down
4 - Effects - Image effects - Seamless tiling by default
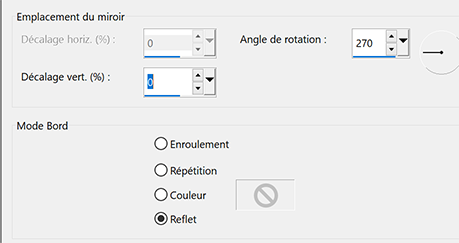
Effects - Reflection effects - Rotating mirror
Effects - Edges effects -Enhance 2 times
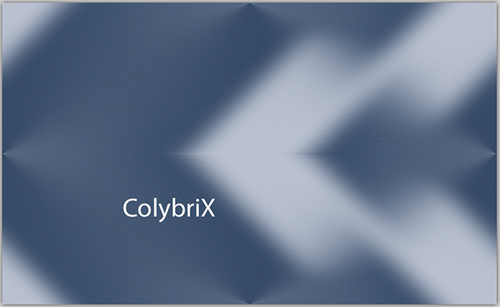
Result
5 - Layers – New Raster layer
Fill with light color
Layers – New mask layer from image – select " creation.tine_masque330"
Effects - Edges effects -Enhance
Layers - Merge - Merge group
6 - Image – Mirror
Pick tool (k) Position X -100 - Position Y 0
7 - Activate the bottom layer
Effects - Texture Effects - Weave

8 - Stay on this layer
Selections - Load - Save selection - Load Selection 1 from Alpha Channel
Selections -Promote selection to layer
Effects Plugin Galaxy > Noiseee

9 - Selections – Modify - Select selection borders

Fill with light color
Selections - Select none
Effects - 3D Effects - Drop shadow 0, 24, 75, 30 - Black color
10 - Layers - Arrange - Bring to top
Layers - Duplicate
Image – Mirror
Layers - Merge - Merge down
11 - Effects Graphic Plus - Cross Shadow intensity 90

12 - Activate Raster 1
Effects Graphic Plus - Cross Shadow same settings but intensity 50
13 - Activate the top layer
Layers - New Raster layer
Fill with light color
Layers – New mask layer from image – select NarahsMasks_1639
Effects - Edges effects -Enhance
Layers - Merge - Merge group
14 - Effects - Texture Effects - Weave
Same settings but Opacity 50

15 - Layers – New Raster layer
Selections - Load - Save selection - Load Selection 2 from Alpha Channel
Fill with dark color
Effects - Graphic Plus - Cross Shadow by default but intensity 50
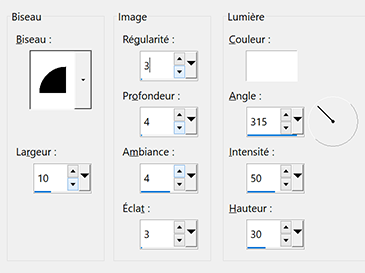
16 - Effects - 3D Effects - Inner bevel
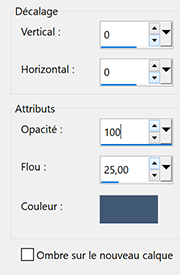
Effects - 3D Effects - Drop shadow 2, 2, 75, 5 - Black color
Selections - Select none
17 - Layers - Duplicate
Image – Resize 90% resize all layers not checked
Pick tool (k) Position X 163 - Position Y 495
Layers - Merge - Merge down
Effects - Graphic Plus - Cross Shadow by default but intensity 50
18 - Activate the bottom layer
Edit - Copy
19 - Image – Add borders
3 pixels – dark color
5 pixels – light color
3 pixels – dark color
20 - Magic Wand tool - tolerance and feather à 0
Select the border 5 pixels light color
Effects - Texture Effects - Weave - same settings
21 - Selections - Select all
Image – Add borders
30 pixels – white color
Effects - 3D Effects - Drop shadow - dark color
22_ Selections - Select all
Image – Add borders
15 pixels –white color
Selections – Invert
Edit – Paste into selection
23 - Effects Graphic Plus - Cross Shadow par défaut - intensity à 128
24 - Selections – Invert
Effects 3D - Drop shadow - same settings but black color
Selections – Select none
25 - Edit - Copy "Cady 2" - Erase the watermark
Edit - Paste as a new layer
Image - Resize 85% resize all layers not checked
Move on the right
Layers - Duplicate
on the layer below - Adjust - Blur - Gaussian blur 20
Blend mode Overlay
on the top layer - Effects 3D - Drop shadow -2, 18, 40, 30 - dark color
26 - Text tool (or take the text provided) Fond Hand Of Sean

Write ..... Justine (Enter key.......then push 4 times on space to make a shift to the right)
and write ...... Sarah
Right click on the layer in the layer window
Convert to Raster Layer
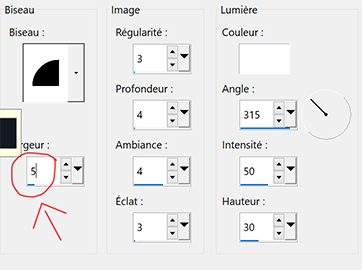
Effects - 3D Effects - Inner bevel same settings but width 5
Effects - 3D effects - Drop shadow 2, 2, 75, 10 - black color
Pick tool (k) Position X 63 - Position Y 264
27 - Edit - Copy "deco bordure"
Pick Tool (k) position X 45 - position Y 18
Effects - Edges Effects - Enhance
28 - Add your watermark
Image – Add borders
1 pixel – Dark color
Image – Resize 950 pixels - resize all layers checked
Save Jpeg
If you want, you can send me your version
If you have problems, or you find a not worked link, write to me

Une autre version avec un tube de Corinne Vicaire
Une autre version avec un tube de Tine
Muito obrigada Roberta

-
Commentaires

|
|
|
|