-
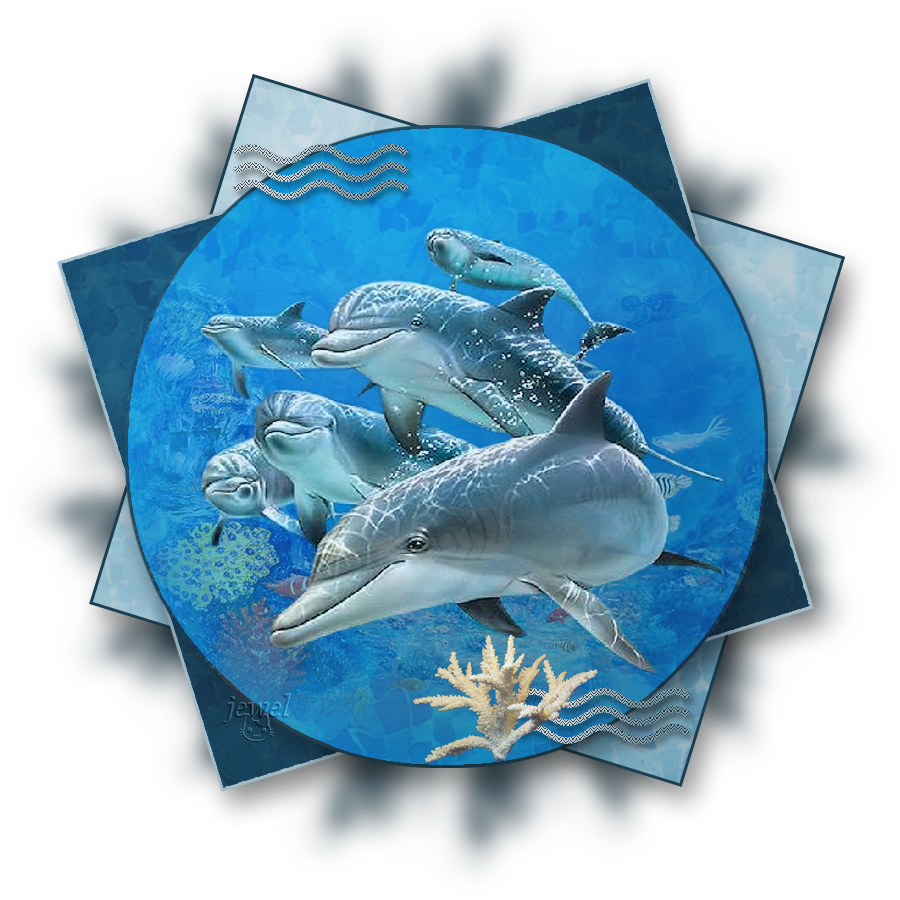
Sous la mer

Colybrix, thank you very much for your permission that I may translate your tutorials

Original tutorial here
No filters used
realized with CC 2021 but achievable on other older versions

***
Activate the Styles window, click on the small lines on the right
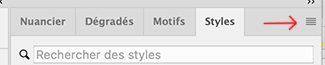
Click on Import Styles (capture on CC)
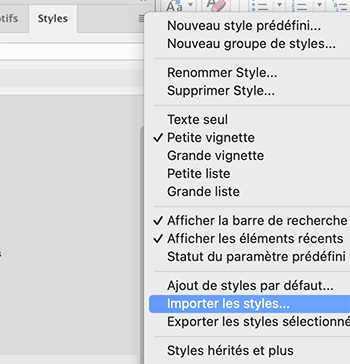
Get the styles file provided in the material

You will find the styles at the bottom of your active styles when we need them (two folders to open to find them on CC
On Cs no folder, they are the last two styles of your list)
***
Material
***
Colors
Color 1 : #a2bcc8
Colorr 2 : #1c4051
Color 3 : #1686c3
Colorr 4 : #ffffff

***
1 - Open "Alpha Sous la mer" It contains 4 selections
Image - Duplicate - we are working on the copy, you can close the original
The white layer will be removed at the end of the tutorial
2 - Layer – New layer
Fill with the color 2
Add a layer mask

Alt-click on the merge mask thumbnail (your work becomes white)

3 - Open Mask0176
Select All (ctrl a)
copy ( ctrl c)
Go back to work
Edit – copy (ctrl v)
The mask goes in the layer mask
Ctrl T (Free transform)
Pull the handles to cover the entire layer
Enter key
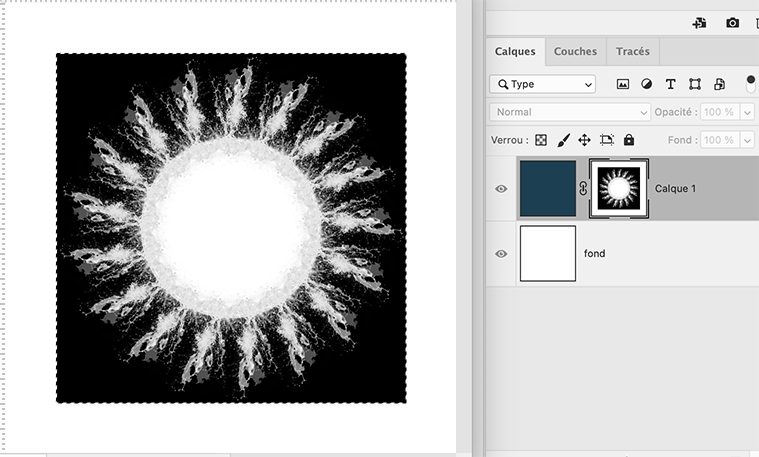
4 - Right click on the layer mask – Apply the layer mask

Ctrl D (Select - Deselect)
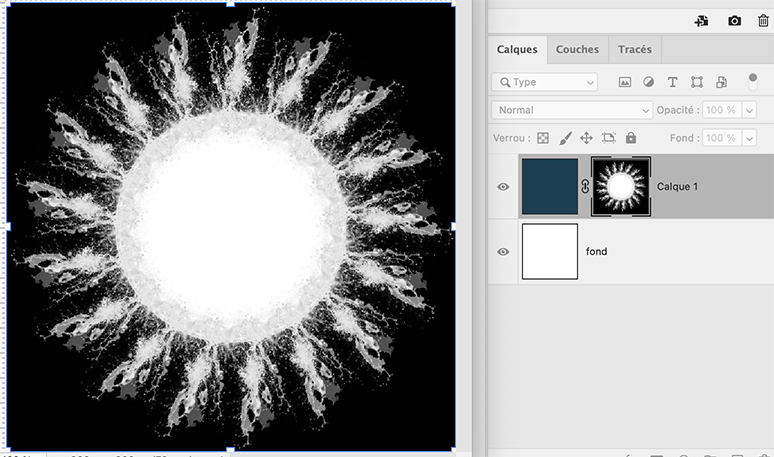
5 - Ctrl T (Free transform)

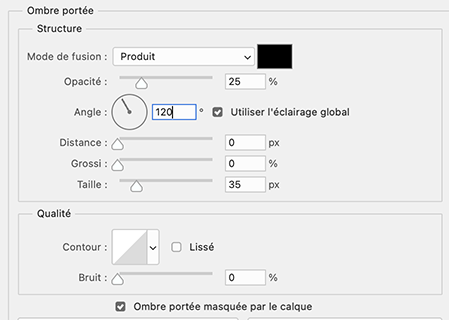
Layer style - Drop shadow
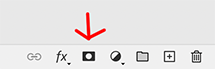
Right click on the layer thumbnail
Create a layer

Or from the top menu (Layer > Layer Style > Create Layer)
6 - On the top layer
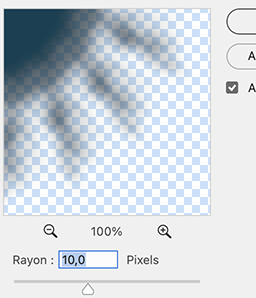
Filter – Blur - Gaussian blur 10
(On older versions: Filter - Attenuation - Gaussian blur)
7 - Layer - New layer
Selection – Load selection - selection 1

Fill with color 1
Ctrl D (Deselect)
Click in the Styles window on the style 'Sous la mer 1'.
On Cs you will not see any folder, just the two styles last in your active styles

8 - Layer - New layer
Selection – Load selection - selection 2
Fill with the color 2
Ctrl D (deselectr)
Click in the Styles window on the style 'Sous la mer 1'
In your layer window click on the layer outline style - change the color to color 1

9 - Layer - new layer
Selection – Load selection - selection 3
Fill with the color 3
Ctrl D (deselect)
Click in the Styles window on the style 'Sous la mer 1'
Right click on the layer thumbnail > Pixelate layer
(on older versions : Right click > convert to dynamic object
right click again > Pixelate Layer)
10 - Copy "fondmer2" Erase the watermark
Paste as a new layer
Right click on the layer's thumbnail > create a clipping mask (everything that exceeds the layer underneath disappears, if you use another background, you can still move or resize if necessary)
Opacity 55%
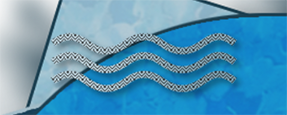
11 - Copy and paste as a new layer "Dauphins" - don't move
Opacity 90
12 - Layer - new layer
Selection – Load selection - selection 4
Fill with the color 1
Ctrl D (deselect)
Click in the Styles window on the style "Sous la mer 2"
13 - Layer - Duplicate
Ctrl T
Put these settings in the top bar

14 - Dodge Tool with these settings

Move twice on the left part of the layer (this will slightly lighten the left part)
Then while holding the Alt key, move twice to the right part of the layer (this will slightly darken the right part)
Result
15 - Do the same on the layer just below (layer 7)
16 - Increase the size of the brush to 365
Do the same on the circle layer (2-3 times on the top left and holding Alt, 2-3 times on the bottom right)
Do the same on the two square layers below
17 - Activate top layer
Copy and Paste the tube "corail blanc"
Resize 32% (keep the proportions)
Place at the bottom center - opacity 90
18 - Add your watermark
Delete the white layer
Layer - Merge visible (don't flatten)
Save as Png
If you want, you can send me your version
If you have problems, or you find a not worked link, write to me

-
Commentaires
|
|
|
|