-
Par jewelAnnie le 26 Février 2023 à 08:19

Colybrix, thank you very much for your permission that I may translate your tutorials

Original tutorial here
No filters used
realized with CC 2021 but achievable on other older versions

***
Activate the Styles window, click on the small lines on the right
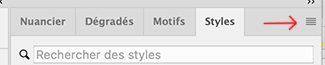
Click on Import Styles (capture on CC)
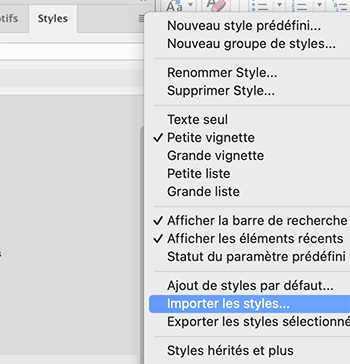
Get the styles file provided in the material

You will find the styles at the bottom of your active styles when we need them (two folders to open to find them on CC
On Cs no folder, they are the last two styles of your list)
***
Material
***
Colors
Color 1 : #a2bcc8
Colorr 2 : #1c4051
Color 3 : #1686c3
Colorr 4 : #ffffff

***
1 - Open "Alpha Sous la mer" It contains 4 selections
Image - Duplicate - we are working on the copy, you can close the original
The white layer will be removed at the end of the tutorial
2 - Layer – New layer
Fill with the color 2
Add a layer mask

Alt-click on the merge mask thumbnail (your work becomes white)

3 - Open Mask0176
Select All (ctrl a)
copy ( ctrl c)
Go back to work
Edit – copy (ctrl v)
The mask goes in the layer mask
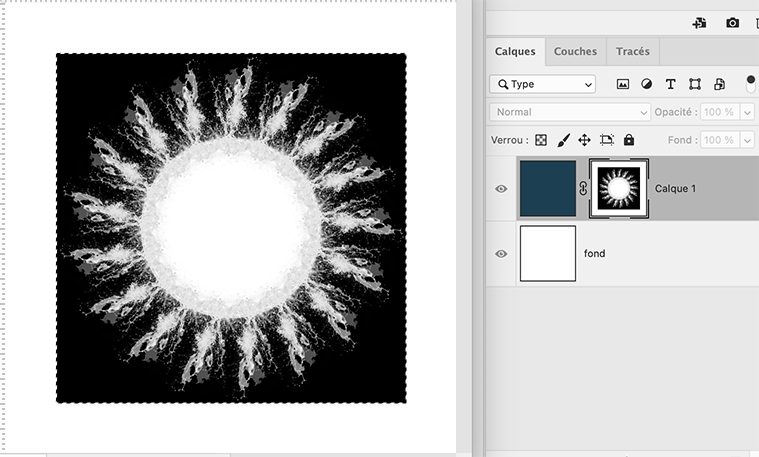
Ctrl T (Free transform)
Pull the handles to cover the entire layer
Enter key
4 - Right click on the layer mask – Apply the layer mask

Ctrl D (Select - Deselect)
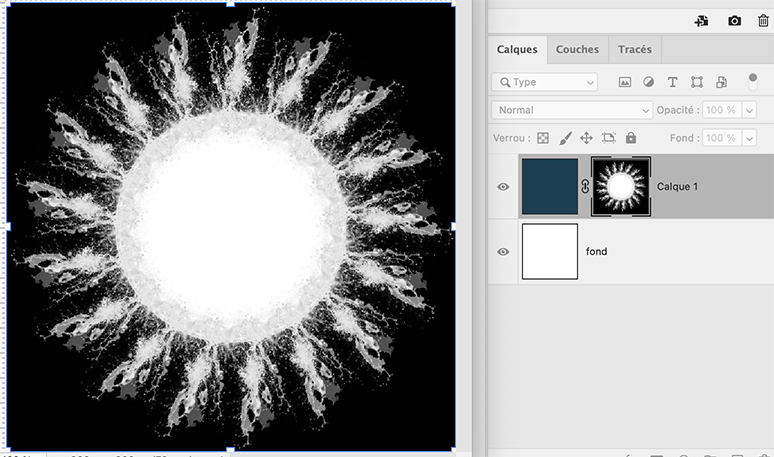
5 - Ctrl T (Free transform)

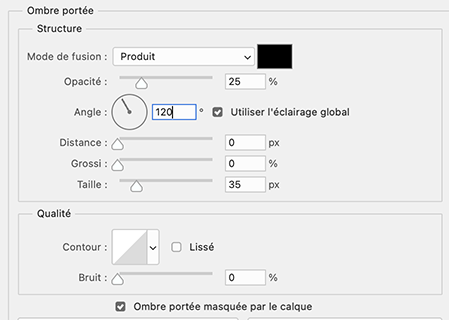
Layer style - Drop shadow
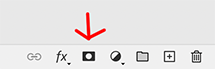
Right click on the layer thumbnail
Create a layer

Or from the top menu (Layer > Layer Style > Create Layer)
6 - On the top layer
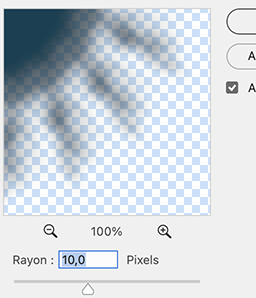
Filter – Blur - Gaussian blur 10
(On older versions: Filter - Attenuation - Gaussian blur)
7 - Layer - New layer
Selection – Load selection - selection 1

Fill with color 1
Ctrl D (Deselect)
Click in the Styles window on the style 'Sous la mer 1'.
On Cs you will not see any folder, just the two styles last in your active styles

8 - Layer - New layer
Selection – Load selection - selection 2
Fill with the color 2
Ctrl D (deselectr)
Click in the Styles window on the style 'Sous la mer 1'
In your layer window click on the layer outline style - change the color to color 1

9 - Layer - new layer
Selection – Load selection - selection 3
Fill with the color 3
Ctrl D (deselect)
Click in the Styles window on the style 'Sous la mer 1'
Right click on the layer thumbnail > Pixelate layer
(on older versions : Right click > convert to dynamic object
right click again > Pixelate Layer)
10 - Copy "fondmer2" Erase the watermark
Paste as a new layer
Right click on the layer's thumbnail > create a clipping mask (everything that exceeds the layer underneath disappears, if you use another background, you can still move or resize if necessary)
Opacity 55%
11 - Copy and paste as a new layer "Dauphins" - don't move
Opacity 90
12 - Layer - new layer
Selection – Load selection - selection 4
Fill with the color 1
Ctrl D (deselect)
Click in the Styles window on the style "Sous la mer 2"
13 - Layer - Duplicate
Ctrl T
Put these settings in the top bar

14 - Dodge Tool with these settings

Move twice on the left part of the layer (this will slightly lighten the left part)
Then while holding the Alt key, move twice to the right part of the layer (this will slightly darken the right part)
Result
15 - Do the same on the layer just below (layer 7)
16 - Increase the size of the brush to 365
Do the same on the circle layer (2-3 times on the top left and holding Alt, 2-3 times on the bottom right)
Do the same on the two square layers below
17 - Activate top layer
Copy and Paste the tube "corail blanc"
Resize 32% (keep the proportions)
Place at the bottom center - opacity 90
18 - Add your watermark
Delete the white layer
Layer - Merge visible (don't flatten)
Save as Png
If you want, you can send me your version
If you have problems, or you find a not worked link, write to me

 votre commentaire
-
Par jewelAnnie le 28 Novembre 2021 à 08:00
Tuto Photoshop
Ludmila

Colybrix, thank you very much for your permission that I may translate your tutorials
Original tutorial here
No filters used
realized with CC 2021 but achievable on other older versions
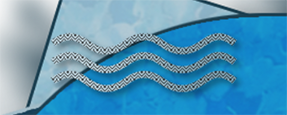
Open "motif rainure" on your Photoshop (it's mall, it's normal)
Edit – Define pattern
It will go into your patterns (last in the active patterns)
Colors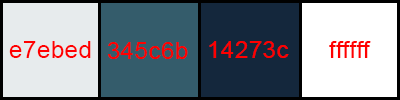
Foreground e7ebed
Background 345c6b
Color 3 (borders) 14273c
Color 4 ffffff
***
1 - Open "Alpha Ludmila Ps" It contains a selection
Image - Duplicate - we are working on the copy, you can close the original
Fill with a gradient foreground / background - Reflected gradient
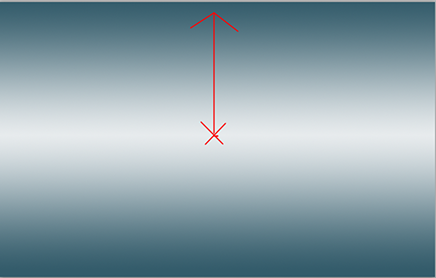
Pull the gradient from the middle to the top edge, holding down the shift key to go straight

2 - Open " 44_paysage_p1_animabelle"
Erase the watermark
Selection – Select all
Edit – Copy
Edit – Paste on your work
Ctrl T Settings (to adapt to your tube if necessary)

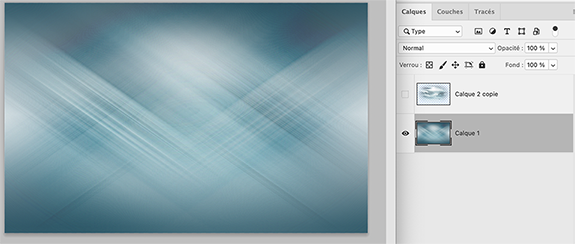
3- Layer - Duplicate
Close Top layer, activate layer 2
Filter – Blur - Motion blur
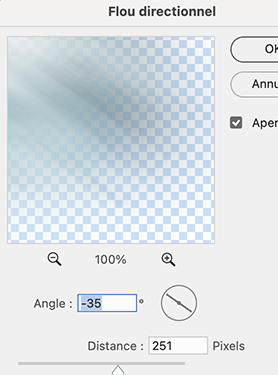
Repeat a 2nd time - Motion blur
4 - Filter – Sharpen - Unsharp mask

Layer - Duplicate
Ctrl T – Right click on your work - Flip Horizontal
Validate
Blend mode - Color burn
5 - Activate layer 1 (lbackground)
Selection – Select all
Image – Crop
Selection – Deselect
Layer – Merge visibles layers (the top layer is always unchecked)

Result
6 - Filter – Sharpen - Sharpen - same settings
Layer - Duplicate
Blend mode Multiply
Layer - Merge - Merge down
7 - Activate Top layer (the mist)
Open it
Layer - Duplicate
Blend mode Overlay - Opacity 60 %
8 - Open NarahsMasks_1655
Ctrl A (select all)
Ctrl C (copy)
Layer - New layer
Fill with the light color
Add a layer mask
Press while holding the Alt key on the thumbnail of the merge mask in the layer window
The layer is white
Edit – copy (ctrl v)
The mask goes in the layer mask
Ctrl T - stretch to cover the entire surface
Selection - Deselect
Right click on the layer mask – Apply the layer mask

For more info on this technique for the mask, see tuto => Ici
9 - Layer - Duplicate
Merge - Merge down
Layer - Duplicate
Merge - Merge down
Layer - Duplicat again … don't merge
Activate the layer below
Layer style - Drop shadow

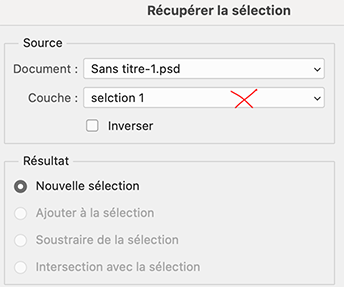
10 - Activate background layer
Selection – Load selection - selection 1
Ctrl J - a new layer is formed with the background in the selection
Move this layer above the two landscape layers
11 - Activate "44_paysage_p1_animabelle"
Selection – select all
(important : even on CC versions you have to select everything before copying to be able to paste in afterwards, otherwise it is not active)
Edit – Copy
Return to your circle layer
Selection – Load selection - sélection 1
Filter - Blur - Gaussian blur 5
Edit – Paste special - Paste into
The landscape will fit in the circle but it is too big
Ctrl T - settings (to adapt to your tube if necessary)

Validate
Right click on the layer mask – Apply the layer mask
Blend mode Hard light (or other)
Layer - Merge - Merge down
12 - Open "effet Glass1"
Edit – Copy
Edit – Paste
Ctrl T - settings

13 - Activate background layer (layer 1)
Selection - Select all - Copy
Layer - Flatten image
For security, File - new (don't change the size, it has the right size in memory
Edit – Paste
The background will be pasted on the new file (put aside for later)
Back to your work
14 - Foreground color 3 : 14273c
Background color 4 : ffffff
15 - Image – Canvas size
10 pixels L and H – foreground color

Select the border 10 px with the magic wand tool (W)

Ctrl J (layer via copy)
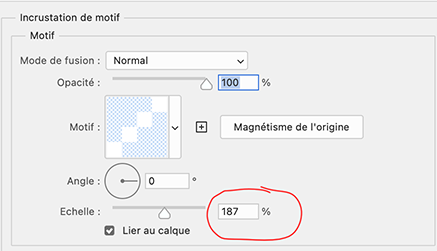
Layer style – Pattern Overlay
Choose pattern "motif rainure" - settings
Layer - Flatten image
16 - Image – Canvas size
4 pixels White color
4 pixels background color
30 pixels white color
17 - Select the border 30 px with the magic wand tool (W)
Selection - Invert
Ctrl J (layer via copy)

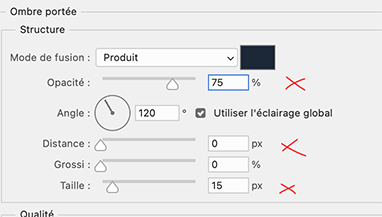
Layer style - Drop shadow
Layer - Flatten image
18 - Image – Canvas size
4 pixels foreground color
4 pixels white color
50 pixels foreground color
18 - Select the border 50 px with the magic wand tool (W)
Selection - Invert
Ctrl J (layer via copy)
19 - On this new layer - Layer style - drop shadow
same settings but opacity 100

20 - Edit – Paste the previously saved background
Ctrl T (Free transform)
stretch to cover the entire surface
Layer – Arrange - bring backward (under layer 1)
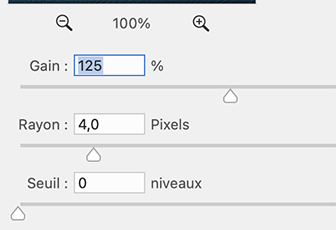
21 - Filter – Sharpen - Unsharp mask – Gain 125
22 - Activate top layer
Edit – Copy "216_femme_p5_animabelle" - Erase the watermark
Edit – Paste
Ctrl T – settings or your own according to your tube()

Layer style - Drop shadow

23 - Open"etoiles" – Copy
Paste
Layer - arrange under the woman tube
Ctrl T – Settings

24 - Layer - Duplicate
Ctrl T - Settings

Add your watermark
2 Layer - Flatten image
Image – Canvas size
4 pixels foreground color
Image – Image size – 950 pixels
If you want, you can send me your version
If you have problems, or you find a not worked link, write to me
Une autre version avec un tube de Tine
Une variante réalisée avec PSP
tube de Tine
 votre commentaire
-
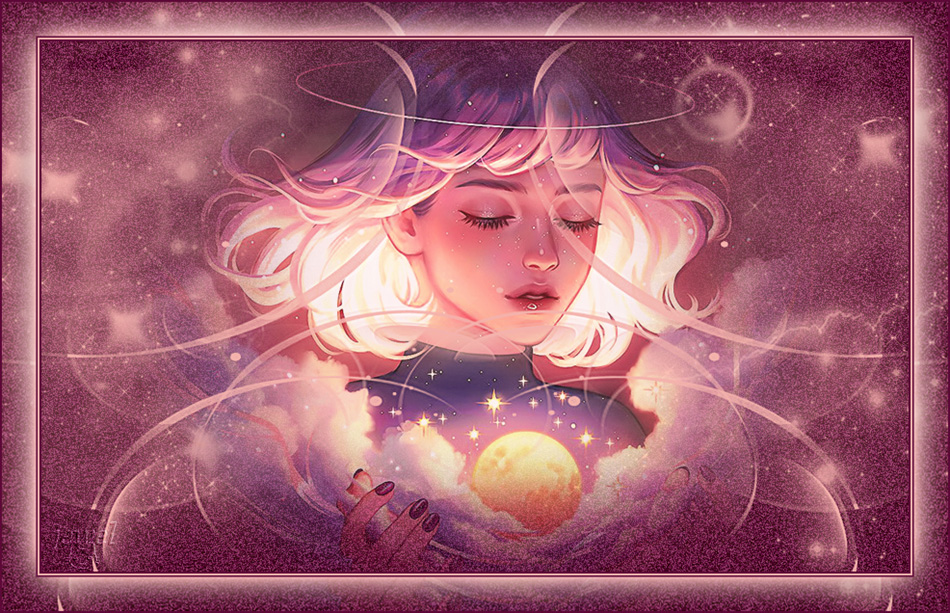
Par jewelAnnie le 9 Août 2021 à 15:21
Dans les étoiles
Colybrix, thank you very much for your permission that I may translate your tutorials
Original tutorial here
No filters used
realized with CC 2021 but achievable on other older versions

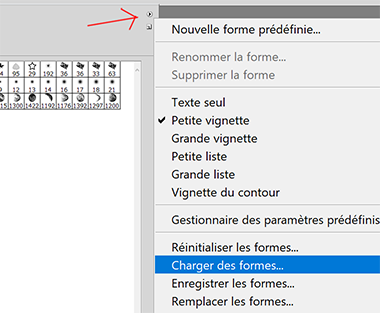
Click on the image above to upload the brushes file to Google Drive
Brushes 1000 Coly stars to import in your Photoshop (double click, they will be put last in your brushes)
or go to your brush window and click on the top right corner : load shapes (capture on Cs5)
***
Colors
Dark color #680a3f
Light color #f5bbb6

***
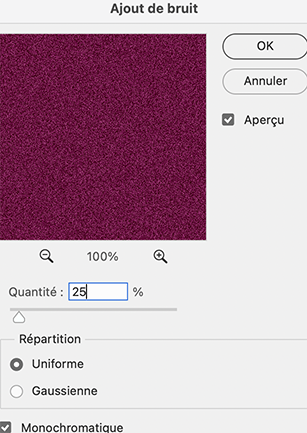
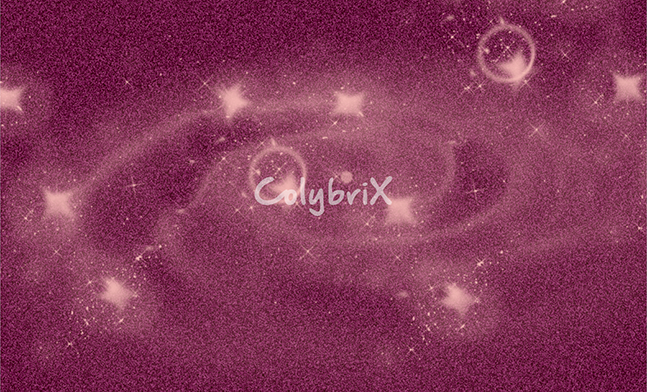
1 - File - new transparent 900 * 550
Fill with dark color
Filter – Noise - Add noise
2 - Layer - New layer
Brush tool - light color - Opacity 100%
do as me or as you wish
I chose this brush first and placed in the center

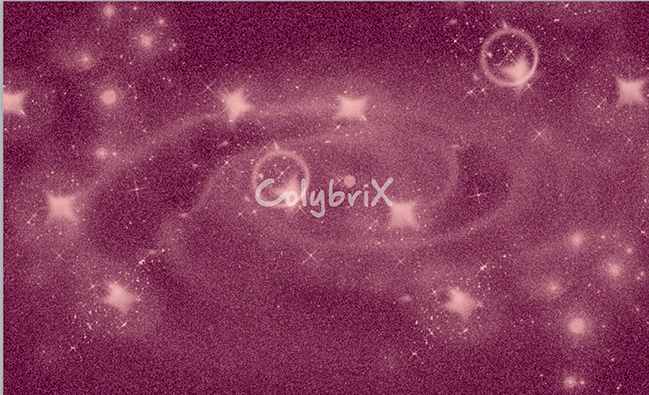
3 - Layer - New layer
Choose this brush

apply 3 times like this
4 - Layer - new layer

Once at the top left and once at the bottom right
5 - Move to the bottom layer - raster 1
Layer - New layer - fill with light color
Add a layer Mask
Open "NarahsMasks_1597" – Ctrl A (select all)
Ctrl C (copy)
6 - Go back to your layer with the layer mask
Press while holding the Alt key on the thumbnail of the merge mask in the layer window
The layer is white
Edit – copy (ctrl v)
The mask goes in the layer mask
Select - Deselect
Ctrl T (Free transform)
Stretch to cover the layer
Select - Deselect
Right click on the layer mask – Apply the layer mask
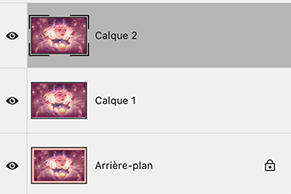
7 - Move to the top layer
Layer - New layer - fill with light color
Add a layer Mask
Open "NarahsMasks_1582" – Ctrl A (select all)
Ctrl C (copy)
8 - Go back to your layer with the layer mask
Press while holding the Alt key on the thumbnail of the merge mask in the layer window
The layer is white
Edit – copy (ctrl v)
The mask goes in the layer mask
Ctrl T (Free transform)
Stretch to cover the layer
Select - Deselect
Right click on the layer mask – Apply the layer mask
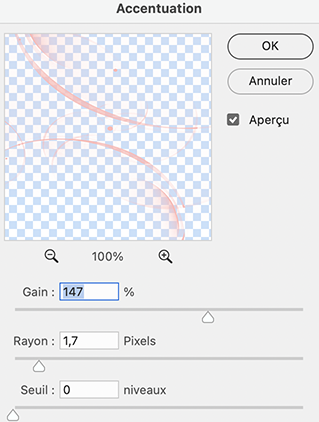
9 - Filter – Sharpen - Unsharp mask
10 - Layer - Duplicate
Ctrl T (free transform)
Right click on your work – Flip horizontal

11 - Open " misted_fantaisie15_tine_08.2021-181" - Erase the watermark
Ctrl A - Ctrl C (copy)
On your work - Ctrl V (paste)
Ctr T (free transform)
Settings (Warning ! L negative)

Layer – Arrange - Send Backward (2 times)
12 - Layer - Flatten
Ctrl A – Ctrl C (Select all - copy)
13 - Image – Canvas size (relative coché)
4 pixels – dark color
4 pixels –light color
4 pixels – dark color
70 pixels – light color
14 - Select the last border with the magic wand tool (W)
Selection - Invert
Ctrl J (new – layer via copy)
15 - Ctrl V (paste the BG in memory)
You can't see the difference but the copy is at the top like this
Ctrl Ton the layer 2 and stretch to cover your work
Layer – Arrange - Send Backward
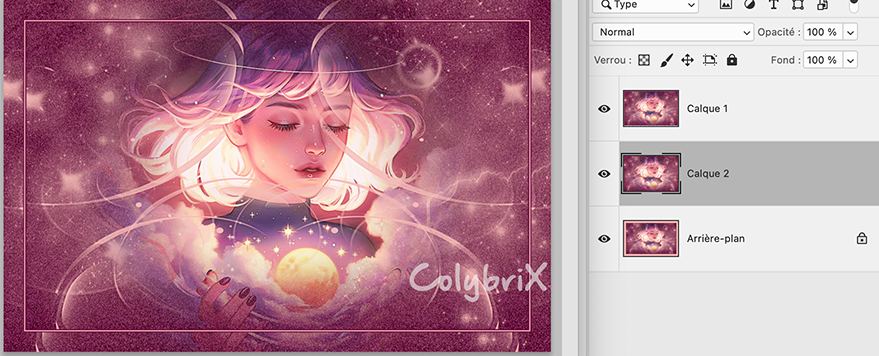
16 - Move to the top layer (raster 1)
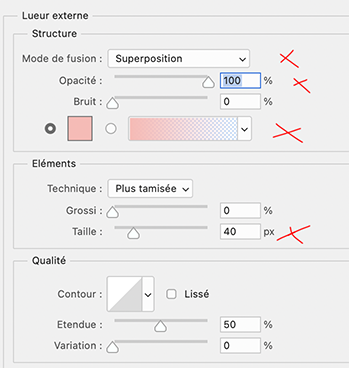
Layer style
Outer glow (light color) and Drop shadow

17 Add your watermark - Flatten image
Image – Canvas size (relative coché)
4 pixels – dark color
Image – Image size 950 pixels
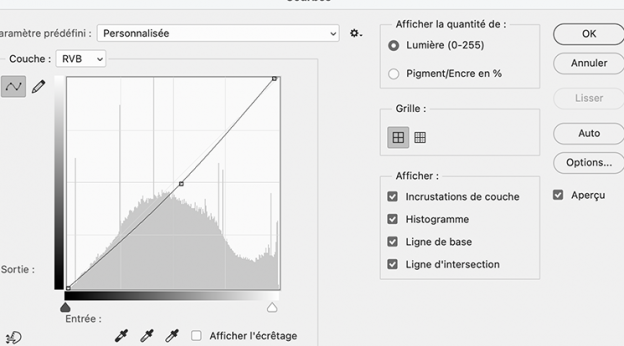
18 - Optional : Image – Adjustements - Curves (adapt to your colors and the result you want)
With CC 2021 : I clicked on "Auto" on the right (doesn't look the same on CS)
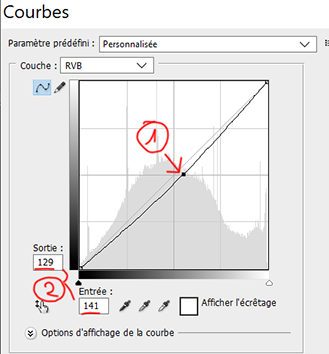
On Cs 5, click first to slightly move the curve in the center downwards (1)
then put 129 in output and 141 in input (2) or the values you prefer according to your colors
If you want, you can send me your version
If you have problems, or you find a not worked link, write to me
Une autre version avec un tube de Tine
Une autre version avec un mist perso
 votre commentaire
-
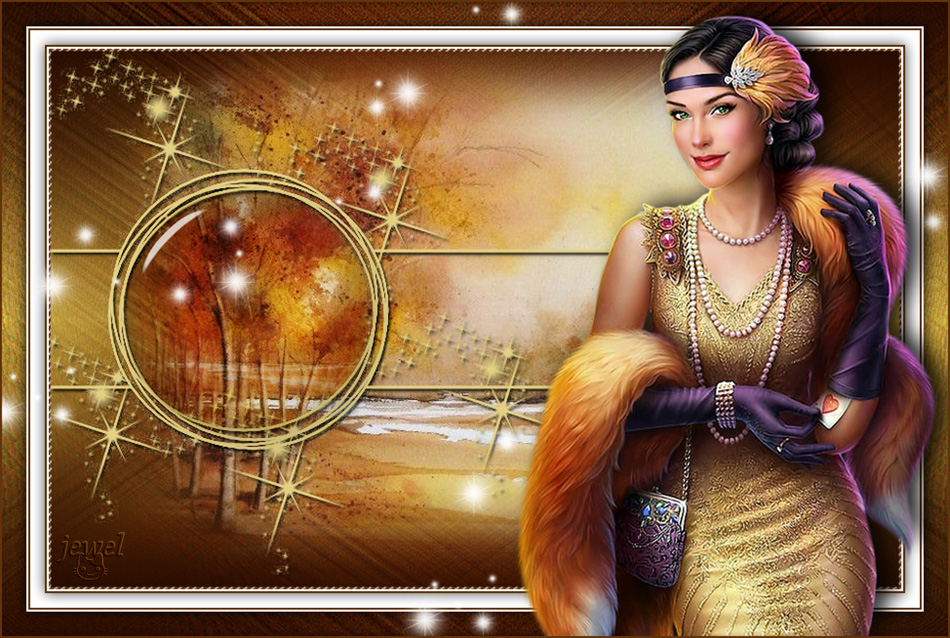
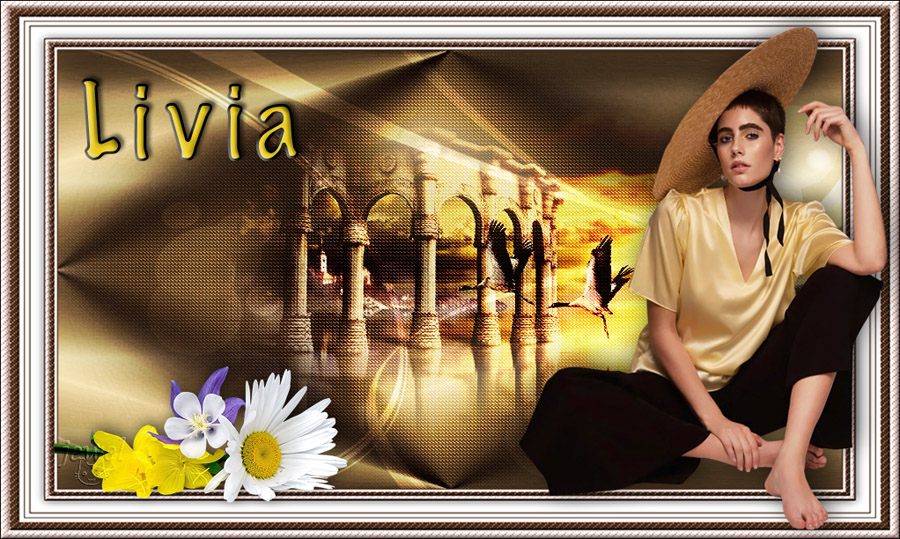
Par jewelAnnie le 8 Octobre 2020 à 14:11

Colybrix, thank you very much for your permission that I may translate your tutorials

Original tutorial here
***

***
Preparation
Open tile or43 - Edit define pattern

The tile will be the last in your active patterns
Do the same with the Horizontal Gold tile
I put in the material the same tiles in silver tones if the colors of the gold tiles do not match your colors, in this case import the silver tiles
***
Dark color 170c0e
Light color efd6b4
Color 3 (title text): eaca1f

1 - Open the Alpha Livia layer (it contains selections)
Image - Duplicate, we work on the copy
2 - Fill the layer with the dark color
Open image Coly - mask38 - select all - copy
3 - On your work
New layer, fill with light color
Add a layer mask

Important : while holding down the Alt key, click on the white thumbnail of the layer mask in the layer window

The layer is white
4 - Ctrl V (paste) - your mask will paste into the layer mask

5 - Right click on the layer mask thumbnail
Apply the layer mask

6 - Deselect
7- Filter – Sharpen – Unsharp Mask

8 - Layer duplicate
Set the opacity of this layer to 50%
Layer Merge visible
9 - Image -Adjustements - brightness / contrast
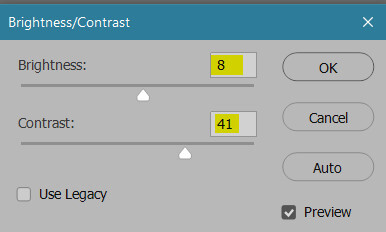
Result

10. Select - Load selection
Choose selection 1 in the scroll menu

11. Ctrl J (layer via copy)
Layer style
Pattern overlay - choose the 43 gold tile (or 223 silver according to your colors)

Drop shadow

12 - Go to the layer below (layer 2 copy)
Layer Style - Pattern Overlay - Choose Horizontal Gold Pattern

13 - Stay on the layer below (layer 2 copy)
Select - load the selection
Choose selection 2 in the scroll menu
14 - Image - Adjustements – brightness / contrast

Deselect
15 - Return to the top layer (layer 1)
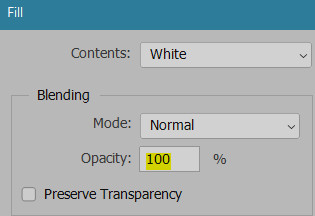
New layer
Edit - Fill with white color
16 - Open the Coly-mask-14 mask
Select all - copy
17. Go back to your work, we do the same steps as for the previous mask
- Add a layer mask on the white layer
While holding down the Alt key, click on the white thumbnail of the layer mask in the layer window
Ctrl v ( edit - paste)
Right click on the layer mask thumbnail
Apply the layer mask
18 - Deselect
Set the opacity of this layer to 75% and change blend mode - Overlay
19 - Open the landscape mist 104
Using the lasso tool or Rectangular Marquee Tool at 0 - erase the watermark
Copy - paste on your work
Ctrl T (free transform)
Link checked put its settings (X - Y - L - H)

20 - Blend mode linear light mode (or other)
Move this layer under layer 2

21 - Merge visible layers (Do not flatten)
22. Image - canvas size (120 and 110)

23 - Open frame 18
Using Rectangular Marquee Tool, progressiveness to 0
Erase watermark in the center
24 - Select all - copy
Paste to your work - normally it is the right size
(To change the frame color on my 2nd version I made image-adjustments- Hue and saturation (ctrl u) with my dark color in the foreground
check colorize or redefine depending on the version,
move the saturation and brightness sliders to accentuate, darken or lighten if you wish)25 - Open Woman 761 Coly - remove the watermark
Copy - paste on your work
Ctrl T (free transform) with these settings

26 - Layer style - drop shadow

27 - Open the Title Livia tube
Copy - paste on your work
Move to top left
28 - Layer style
Color (I took a yellow color on the work : eaca1f)

Stroke (dark color)
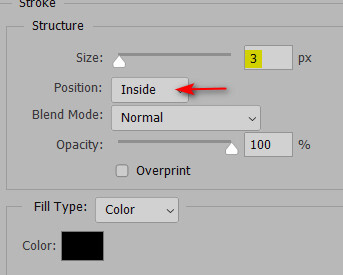
Bevel and emboss (Inner bevel)

Drop shadow

29 - Open flower 76 Coly - remove the watermark
Copy - paste
Ctrl T free transform)

30 - Layer style - Drop shadow

31 - Add your watermark
Merge flatten all
32 - Image - Canvas size
2 pixels in Width and Height dark color
33 - Image - image size 900 pixels
If you want, you can send me your version
If you have problems, or you find a not worked link, write to me

Une autre version avec des tubes de Colybrix, Guismo et Tine

Thank you Win
 votre commentaire


|
|
|
|