-
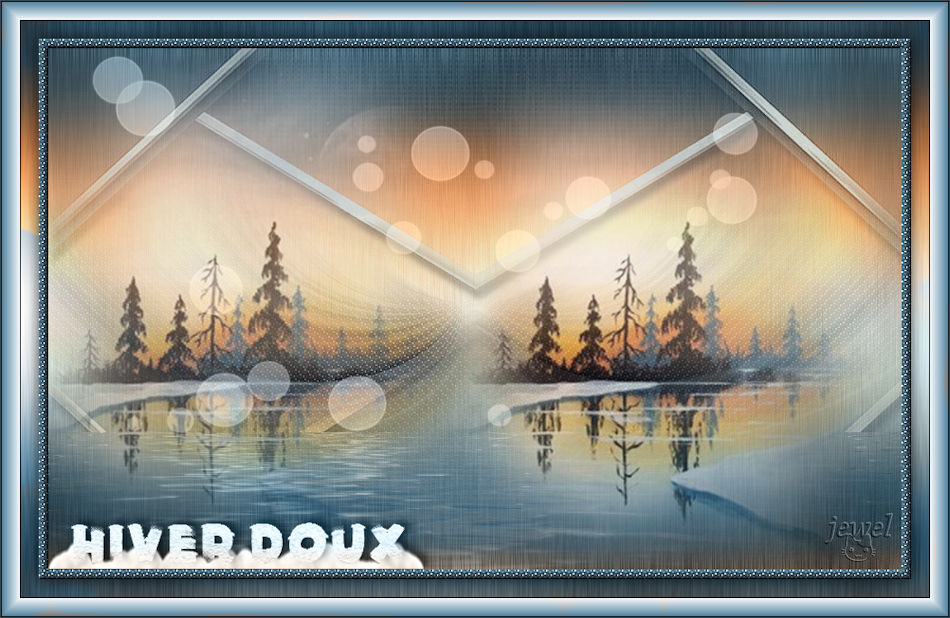
Hiver doux

Colybrix, thank you very much for your permission that I may translate your tutorials

Tutorial here
***

***
Plugins
Mehdi
Mehdi 2
Graphic Plus
AAA Frame
Flaming Pear > Flood 2 (ou Flood)
You can download Flood 2 from the site here
***
Colors
Foreground : #324d5c
Background : #e0e5e0
Color 3 : #fda463

***
1 - File - New 900 px / 550 px transparent
Effects - Mehdi - Wavy Lab 1.1

2 - (!!! important step for the next filter)
Adjust – Add/Remove Noise - Add Noise

Effects - Mehdi 2 - Flat Median

Adjust - Sharpness - Sharpen
3 - Effects - Graphic Plus - Cross Shadow

4 - Layers – New Raster layer
Fill with background color (or white)
Layers – New mask layer from image – select "création.tine_masque361"
Effects - Edges Effects - Enhance
Layers - Merge - Merge group
Effects 3D - Drop shadow 10, 4, 50, 10 black
5 - Open "paysghiver37-coly" Erase the watermark
Edit – Copy
Edit - Paste as a new layer
Pick Tool (k) : 402 - 64
Layers - Duplicate
Close the copy, activate the original
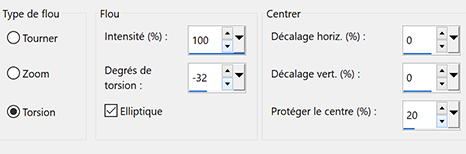
Adjust - Blur - Radial blur
6 - Effects - Edges Effects - Enhance
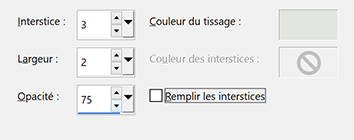
Effects - Texture effects - Weave
Blend mode Multiply
Layers - Duplicate
Image - Mirror - Mirror horizontal
Layers - Merge - Merge down
7 - Activate the top layer
Effects - Image effects - Seamless tiling - Side by Side

8 - Open "déco" - Edit – Copy
Edit - Paste as a new layer
Blend mode Luminance (Legacy) - Opacity 60 %
9 Activate the bottom layer (Raster 1)
Selections – Select all
Image – Crop to selection
Edit - Copy
10 - Activate the 2e layer from the bottom (the mask)
Effects - Flaming Pear - Flood 2
You can also do the effect with Flood... same settings
If you use Flood 2, set Style to Simple

11 - Do the Flood filter on the top layer, the deco - same settings
12 - Selections – Select all
Image – Add borders
10 pixels – foreground color
Selections – Invert
Effects - Texture effects - Weave (foreground color) - same settings
Effects - 3D Effects - Inner Bevel

Adjust - Sharpness - Sharpen
13 - Selections – Select all
Image – Add borders
40 pixels – foreground color
Selections – Invert
Edit – Paste into selection (background in memory)
14 - Selections – Promote selection to layer
Effects - AAA Frames - Frame Works

On my 2nd version, I left on Gold instead of Gray, so I didn't have to change the color afterwards
it's up to you to see according to your colors
15 - Tool - Change to Target Brush - size 50 - Opacity 100

Left-click all around the border to colorize with your foreground color if you want
Layers - Merge - Merge down
Selections – Invert
Effects 3D - Drop shadow 0, 0, 80, 25, couleur noire
Selections – Select none
16 - Open "Titre" - Copy
Edit - Paste as a new layer
Place at the bottom left
Effects 3D - Drop shadow -3, 6, 50, 10, couleur noire
Blend Mode Luminance (Legacy) (or other)
17 - Add your watermark
Image – Add broders
1 pixel – foreground color
Image – Resize 950 pixels - resize all layers checked
Save Jpeg
If you want, you can send me your version
If you have problems, or you find a not worked link, write to me

Une autre version avec un tube perso
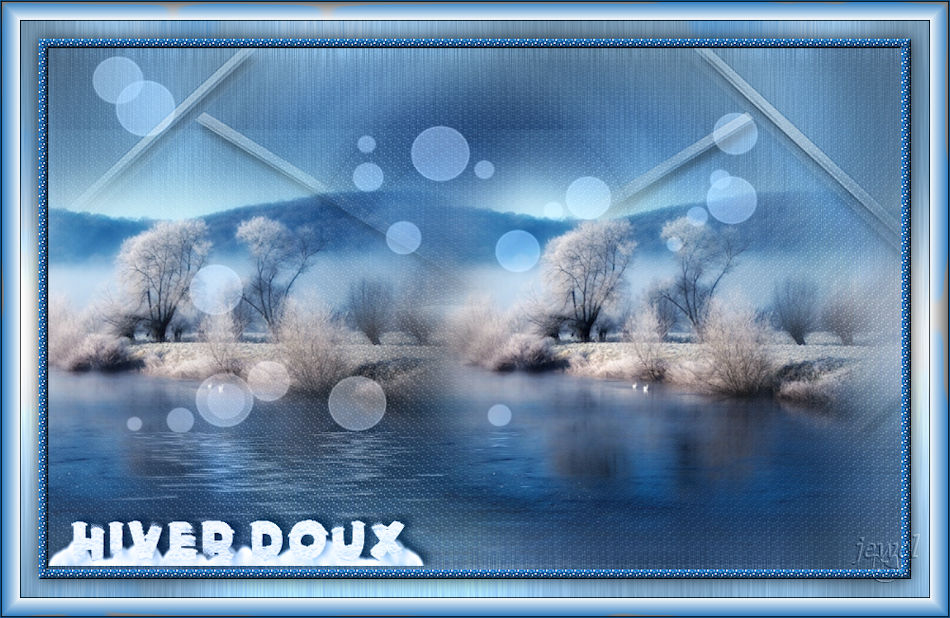
Une autre version avec des tubes de Colybrix et Tine

Than you so much Marie

-
Commentaires

|
|
|
|